If there’s one dish that captures the heart of Indian street food lovers, it’s pav bhaji. Born in the bustling streets of Mumbai, this hearty, buttery mix of mashed vegetables served with soft bread rolls has become a favorite far beyond its origins. Its bold flavors and comforting appeal make it a go-to meal for any occasion. In this post, you’ll learn how to recreate the magic of authentic street-style pav bhaji in your own kitchen—simple, flavorful, and satisfying.
What is Pav Bhaji?
Pav bhaji is the ultimate Indian comfort food—packed with flavor, tradition, and nostalgia. Originating in the vibrant city of Mumbai, it’s not just a dish; it’s an experience. This humble yet flavorful street food has gained immense popularity across India and globally, loved for its spicy, buttery goodness and simple presentation. But what exactly is pav bhaji, and why does it hold such a special place in Indian culinary culture?
Understanding the Basics of Pav Bhaji
At its core, pav bhaji is a hearty mix of mashed vegetables cooked in a spiced tomato-based gravy, served alongside soft, buttery bread rolls called “pav.” The word “bhaji” refers to the vegetable curry, while “pav” is derived from the Portuguese word for bread. Together, they create a dish that’s incredibly rich yet easy to prepare, making it a go-to for families, friends, and street vendors alike.
This dish isn’t just food; it’s a sensory delight. The vibrant colors of the bhaji, the aroma of spices like cumin and chili powder, and the soft, toasty pav slathered in butter—all combine to create an irresistible meal.

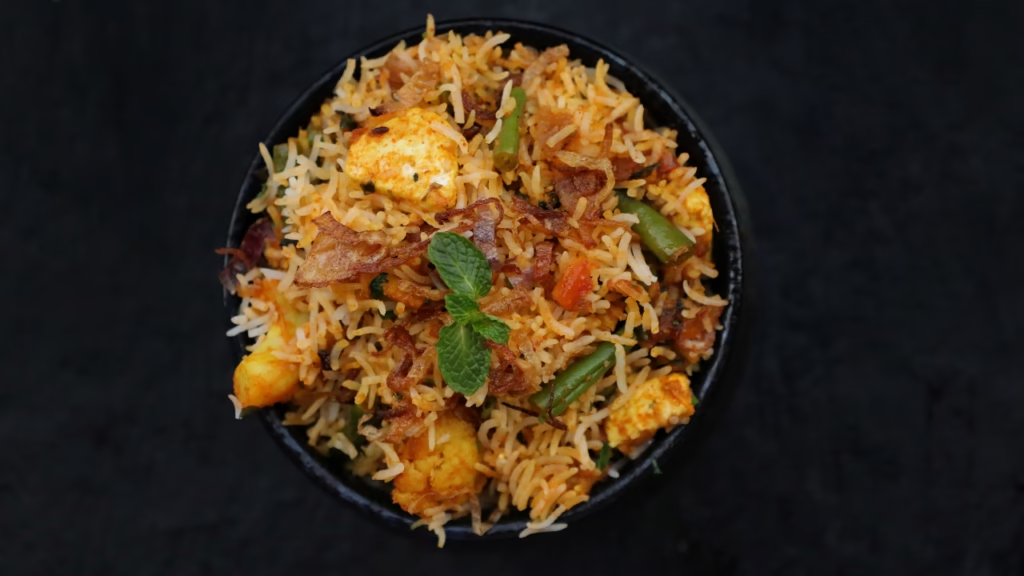
Photo by Digital Buggu
A Brief History of Pav Bhaji
Pav bhaji’s story is as fascinating as the dish itself. It dates back to the mid-19th century in Mumbai during the era of textile mills. The workers, pressed for time during their short lunch breaks, needed a quick and filling meal. Enterprising street vendors concocted a solution: a spicy, mashed vegetable curry served with bread rolls that could be easily eaten on the go. This makeshift dish soon evolved into the pav bhaji we know today, becoming a staple of Mumbai street food culture.
Interestingly, the dish’s popularity surged further when it was introduced to diners awaiting late-night trade results near the Cotton Exchange. Its convenience and affordability made it a hit. Today, it’s a symbol of Mumbai’s culinary ingenuity, loved by people from all walks of life. Learn more about its history on Wikipedia’s page about Pav Bhaji.
Cultural Significance as a Comfort Food
Pav bhaji isn’t just street food; it holds a special place in Indian homes and hearts. It’s often the dish of choice for gatherings, birthdays, or lazy Sundays when families come together to prepare it. The interactive aspect—each person assembling their perfect bite of bhaji on pav, topped with diced onions, cilantro, and lemon juice—makes it feel more like an event than a meal.
The buttery pav, toasted to golden perfection, is so versatile it accompanies the spicy bhaji effortlessly. For many, it’s a nostalgic reminder of childhood trips to local food stalls or family dinners that stretched late into the night. Pav bhaji is more than just a dish; it’s a slice of Indian life on a plate. For more insights on its cultural roots, explore this page about the origins of Pav Bhaji.
Pav bhaji continues to evolve in modern kitchens and cafes, with variations like cheese pav bhaji, Jain pav bhaji (made without onions or garlic), and even fusion versions popping up in international menus. Still, whether you’re eating it at a roadside stall or recreating it at home, its essence remains unchanged—delicious, soulful satisfaction.
Ingredients Needed for Making Pav Bhaji
To make a truly delicious pav bhaji, the choice of ingredients plays a crucial role. From a medley of fresh vegetables to the perfect blend of spices and the soft pav bread, every component contributes to the dish’s irresistible taste. Here’s a detailed breakdown of the key ingredients you’ll need.
Vegetables Used in Pav Bhaji
Pav bhaji is all about celebrating the natural flavors of vegetables. The base is rich, hearty, and satisfying thanks to ingredients that are easily accessible in most kitchens. Here’s what you’ll typically need:
- Potatoes: The key ingredient that gives pav bhaji its creamy, mashed consistency.
- Tomatoes: They form the tangy, flavorful base of the bhaji.
- Green Peas: Adds sweetness and a pop of texture.
- Cauliflower: Provides bulk and complements the other vegetables seamlessly.
- Carrots (optional): A touch of natural sweetness and vibrant color.
- Bell Peppers (optional): For a slightly smoky flavor and extra depth.
Feel free to experiment with the vegetable mix based on availability. You can even sneak in zucchini or broccoli for added nutrition while keeping the flavor intact.
Spices and Flavor Enhancers
The secret to a mouthwatering pav bhaji lies in the spices. A strategic blend of seasonings turns simple veggies into a flavorful delight:
- Pav Bhaji Masala: A ready-made spice mix is essential for that signature pav bhaji flavor. Brands like MDH Pav Bhaji Masala or homemade blends are popular choices.
- Turmeric Powder: Adds a golden hue and earthy undertones.
- Red Chili Powder: Controls the heat level—adjustable per your spice preference.
- Cumin Seeds: A subtle layer of nuttiness.
- Ginger-Garlic Paste: Intensifies aroma and taste.
- Butter and Lemon Juice: While not spices per se, these are essential for finishing the dish with richness and tang.
For a traditional pav bhaji experience, stick to precisely layered spices. If you’re curious about making spices from scratch, this guide to homemade Pav Bhaji Masala might come in handy!
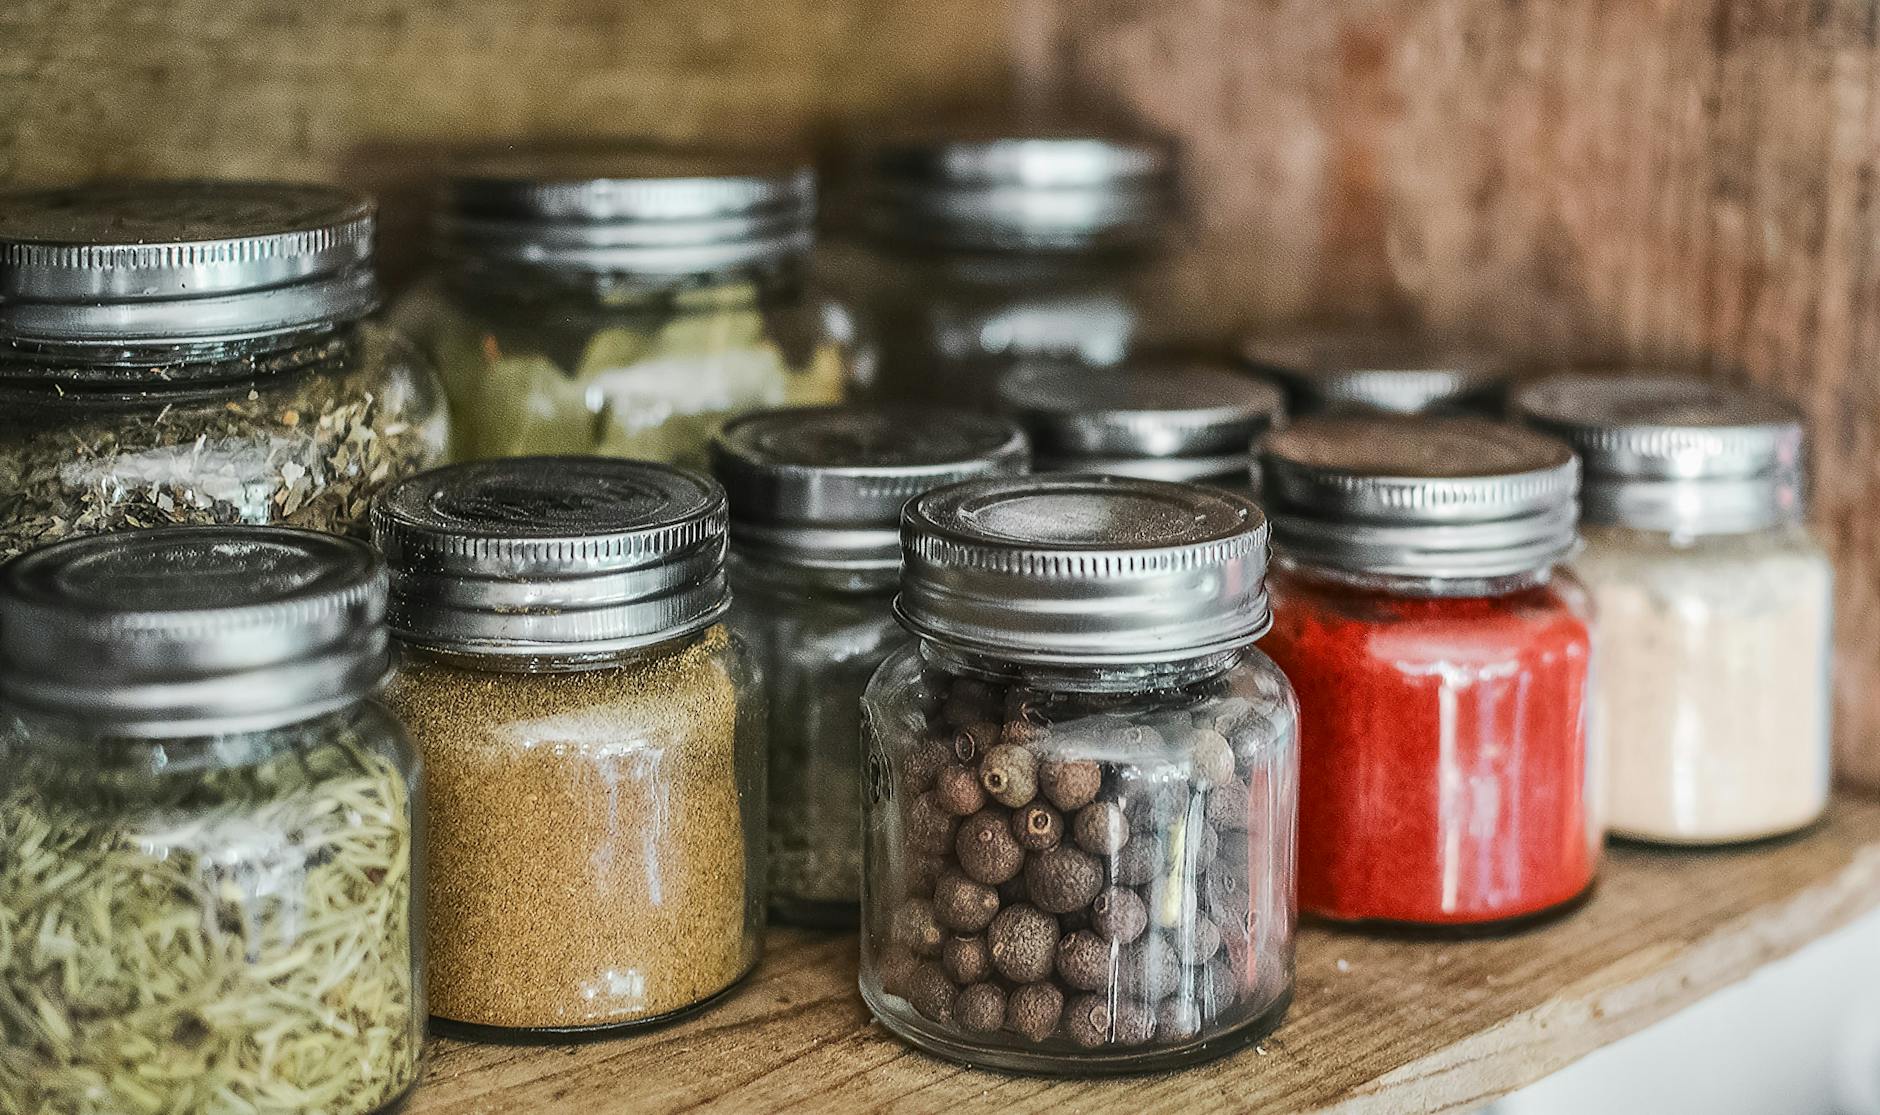
Photo by Pixabay
Choosing the Right Butter and Pav Bread
No pav bhaji is complete without the perfect pav and a touch of butter. These simple yet critical elements elevate the dish to iconic street food status:
- Butter: Always opt for good-quality butter like Amul (a favorite in Indian households) for a richer flavor. You’ll use it generously in the bhaji and for toasting the pav.
- Pav Bread: These are soft, square-shaped buns that are slightly sweet. Traditional pav is readily available in Indian grocery stores, but you can substitute it with dinner rolls or hamburger buns if needed.
Toast the pav with a generous dollop of butter until golden brown for that authentic street-style experience. The crispy, buttery bun perfectly complements the spicy and tangy bhaji, making every bite heavenly.
The right mix of vegetables, spices, butter, and bread brings out the essence of authentic pav bhaji—hearty, flavorful, and satisfying. In the upcoming sections, we will explore how to bring it all together into one delicious meal!
Step-by-Step Instructions to Make Pav Bhaji
Pav bhaji is a delightful mix of soft bread rolls and a spicy vegetable mash. Getting it right involves careful preparation at each step, from boiling vegetables to toasting the bread for that iconic street-style flavor. Let’s walk through the process.
Preparing and Boiling the Vegetables
The base of any good pav bhaji is the perfectly cooked vegetables. Start with these steps:
- Wash and Prep: Rinse all vegetables thoroughly. Peel potatoes, chop cauliflower, carrots, bell peppers, and tomatoes.
- Chop Uniformly: Slice vegetables into even-size pieces so they cook evenly.
- Boil the Vegetables: In a large pot or pressure cooker, boil potatoes, cauliflower, peas, and carrots. Add a pinch of salt for seasoning.
Pro Tip: To achieve that smooth, creamy consistency, overcook the vegetables slightly. This makes them easier to mash later on. If you have a potato masher or an immersion blender, these tools work wonders for the texture.
To learn more about prepping your vegetables the right way, check out this detailed guide on boiling vegetables for pav bhaji.
Making the Bhaji (Vegetable Mash)
Once your vegetables are boiled, it’s time to transform them into the flavorful bhaji:
- Heat the Pan: Melt 2 tablespoons of butter in a large pan. Add a teaspoon of oil to keep the butter from burning.
- Sauté Aromatics: Add cumin seeds, finely chopped onions, and ginger-garlic paste. Sauté until golden brown.
- Cook Tomatoes and Spices: Add chopped tomatoes, turmeric powder, red chili powder, and pav bhaji masala. Let it simmer until the tomatoes are soft.
- Mash and Mix: Add the boiled vegetables, stir well, and start mashing them using a potato masher. Keep mashing until the bhaji becomes a thick, smooth paste.
- Simmer: Add some water to adjust consistency. Simmer on medium heat to let the flavors blend seamlessly.
Taste your bhaji frequently and adjust spices as needed. Adding a dollop of butter while it simmers enhances its richness. For more insights and a step-by-step visual, explore this helpful pav bhaji recipe guide.
Toasting the Pav
No pav bhaji experience is complete without perfectly toasted pav bread. Here’s how to do it:
- Heat Butter: In a flat pan, add a teaspoon of butter (or more, if you’re feeling indulgent). Sprinkle a pinch of pav bhaji masala into the butter.
- Toast the Pav: Slice the pav horizontally and place each half on the pan. Toast until the edges are golden and slightly crispy.
- Serve Hot: Once done, remove from the pan and serve immediately alongside the steaming hot bhaji.
Pro Tip: If you enjoy a spicier kick, sprinkle a little chili powder onto the butter before toasting the pav. The crispy, buttery texture of the bread pairs perfectly with the creamy bhaji.

Photo by Aditya Mara
With these steps, your kitchen will soon be filled with the tantalizing aroma of pav bhaji, a dish that promises to delight your taste buds!
Tips for Perfect Pav Bhaji
Mastering pav bhaji goes beyond just following a recipe. It’s the small, thoughtful tweaks and techniques that truly elevate the dish. Whether you’re aiming to please picky eaters, craft the perfect texture, or present it like a pro, these tips will guide you.
Adjusting Spice Levels
Not everyone likes their pav bhaji fiery hot, and that’s okay. The beauty of pav bhaji lies in its versatility—you can easily adapt the spice levels to cater to your audience.
- For a milder version: Reduce the amount of red chili powder and green chilies. Instead, rely on the natural sweetness of vegetables like carrots and peas to enhance flavor.
- For kids: Keep the spices minimal and consider adding a splash of fresh cream to make the bhaji creamier and less spicy.
- For spice lovers: Amp up the heat by adding finely chopped green chilies or a pinch of extra pav bhaji masala during cooking.
Always remember to taste as you go. A small adjustment can completely transform the dish for the better. For more inspiration on tailoring spice levels, visit Cook With Manali.
Achieving the Right Texture
The signature silky-smooth texture of bhaji is non-negotiable. It’s all about how well you mash the vegetables and balance the water content.
- Mash thoroughly: Use a potato masher to break down vegetables while they’re still warm. Make sure there are no large, visible chunks left.
- Consistency control: Add water gradually while mashing to reach your preferred thickness. The bhaji shouldn’t be too runny or too dry—it needs to be a luscious semi-thick gravy.
- Pro tip: Overcooking your vegetables slightly before mashing ensures a creamier texture effortlessly.
Aim for a consistency that allows the pav to scoop up the bhaji easily. If you’re curious, check out Hebbar’s Kitchen for detailed tips.
Serving Suggestions and Garnishes
How you serve pav bhaji can make all the difference. The toppings and presentation bring this dish to life, making it even more appealing.
- Traditional garnishes:
- A generous dollop of butter melting on top of the steaming hot bhaji.
- Finely chopped onions sprinkled evenly for a crunch.
- Fresh cilantro leaves for a burst of color and flavor.
- A wedge of lemon served on the side to add a tangy flair.
- Creative twists:
- Sprinkle some shredded cheese for a cheesy pav bhaji variation.
- Add a spoonful of sour cream or yogurt for a unique creamy topping.
- Serve with roasted papad for a crunchy contrast.
Additionally, ensuring your pav is toasted to golden perfection in butter completes the street-style charm. If you’re looking for more serving ideas, NDTV Food’s hacks for perfect pav bhaji are worth exploring.
With these tips, you’ll have your pav bhaji not just tasting great but also looking absolutely inviting—perfect for savoring or sharing with friends and family.
"Looking for easy meal prep ideas high in protein? We've got you covered with simple, delicious recipes to keep you energized and on track!"
Variations of Pav Bhaji
Pav bhaji is a dish that invites creativity and experimentation, with countless variations to suit every preference. Whether you’re looking for a rich cheesy treat, a religiously aligned Jain version, a healthy spin, or something totally unexpected, there’s a pav bhaji variation for everyone. Let’s explore some exciting options:
Cheese Pav Bhaji
If you love cheese, this one’s for you! Cheese pav bhaji adds a layer of indulgence to the already flavorful dish. After preparing the traditional bhaji, it’s topped with a generous serving of grated cheese—cheddar works wonderfully. The heat from the piping hot bhaji melts the cheese, creating a gooey, creamy texture that’s irresistible.
For an extra cheesy kick, some even mix shredded cheese directly into the bubbling bhaji while cooking. This variation is a hit at parties and gatherings, appealing to kids and adults alike. Try it out with this easy cheese pav bhaji recipe for guidance.
Jain Pav Bhaji
For those following Jain dietary practices, pav bhaji can still be enjoyed with a few tweaks. This version omits ingredients like onions, garlic, and potatoes, which are typically avoided in Jain cuisine. Instead, raw bananas or plantains are used as a substitute for potatoes to achieve the creamy texture. The remaining vegetables and spices retain the mouthwatering essence that pav bhaji is known for.
It’s a wholesome alternative that respects dietary preferences while staying true to the dish’s flavors. Learn how to make it using this Jain pav bhaji recipe.
Healthy Pav Bhaji
Want to indulge guilt-free? A healthy pav bhaji is the perfect solution. Start by reducing the amount of butter and replacing it with olive oil or a plant-based alternative. Use whole wheat or multigrain bread for toasting the pav to add fiber.
For the bhaji, load up on leafy greens like spinach and nutrient-dense veggies like zucchini or beetroot. Avoid processed spice mixes and prepare a simple homemade spice blend to control sodium. This version proves that pav bhaji can be nourishing without compromising on taste. Check out this healthy pav bhaji recipe for inspiration.
Fusion Pav Bhaji
Why stop at tradition when you can take pav bhaji up a notch with fusion experiments? These modern twists breathe new life into this classic:
- Pav Bhaji Pizza: Use the bhaji as a spicy pizza base sauce, topped with mozzarella and baked.
- Pav Bhaji Quesadillas: Stuff the spicy bhaji between tortillas with cheese for an Indian-Mexican delight. Learn more here.
- Pav Bhaji Pasta: Combine the vegetable-rich bhaji with al dente pasta for a cross-cultural dish that’s a sure crowd-pleaser. This recipe explains how.
- Pav Bhaji Fondue: Serve bhaji with soft bread cubes for dipping, turning it into a playful appetizer. Try the recipe for pav bhaji fondue here.
Fusion pav bhaji dishes are perfect for when you want to innovate and surprise your taste buds. It’s pav bhaji—but with a creative twist!
Each variation has its own charm and is worth exploring based on your cravings or dietary needs. Which one will you try next?
Frequently Asked Questions About Pav Bhaji
Pav bhaji is a versatile dish that leaves room for experimentation and practical solutions. Here are answers to common concerns about making, storing, and tweaking this beloved meal.
Can Pav Bhaji Be Made Vegan?
Absolutely! Transforming pav bhaji into a vegan-friendly dish is easier than you might think. The primary ingredient to replace is butter, which is traditionally used both in the bhaji and for toasting the pav. By swapping butter for neutral oils like sunflower, coconut, or olive oil, you retain the richness without compromising taste.
As for the pav bread, many commercially available options may contain dairy-based ingredients. Check the label and opt for buns that are explicitly dairy-free or vegan-certified. Alternatively, make your own at home for complete peace of mind. If you’d like to explore a step-by-step vegan pav bhaji recipe, you can check out this guide on Guilt-Free Vegan Pav Bhaji, which outlines a delicious vegan version of the dish.
How to Store and Reheat Pav Bhaji?
Properly storing leftovers ensures your pav bhaji tastes just as great the next time. Follow these tips to maintain its flavor and texture:
- Cool Completely: Allow the bhaji to cool down at room temperature before storing it in an airtight container to avoid condensation.
- Refrigerate: Store the cooled bhaji in the refrigerator for up to three to four days. Keep the pav in a separate zip-lock bag or airtight container to avoid it drying out.
Reheating instructions:
- Stovetop: Heat the bhaji in a pan on low to medium heat, adding a splash of water if it appears too thick. Stir occasionally to avoid sticking.
- Microwave: Use a microwave-safe bowl to reheat the bhaji in short intervals, stirring in between to ensure even heating.
Ensure the bhaji is heated thoroughly before serving, and toast the pav fresh for a just-made feel. For more storage tips, take a look at this helpful reference on Storing and Reheating Pav Bhaji.
Can You Freeze Pav Bhaji?
Yes, pav bhaji freezes exceptionally well, making it a great make-ahead option. Proper freezing techniques ensure minimal loss of flavor or texture.
Here’s how you can freeze pav bhaji:
- Cool the bhaji completely to room temperature to prevent freezer burn.
- Portion the bhaji into single-use servings and transfer them into freezer-safe, airtight containers or labeled zip-lock bags. Flatten the bags before placing them in the freezer for efficient storage.
- Freeze the pav separately, or better yet, make fresh ones when needed, as bread tends to lose its softness after freezing.
When it’s time to enjoy the frozen bhaji:
- Defrost: Move the bhaji from the freezer to the refrigerator and let it thaw overnight.
- Reheat: Follow stovetop or microwave reheating instructions as shared earlier, adding a touch of water if necessary to adjust the consistency.
This method ensures you can enjoy homemade pav bhaji on a busy weeknight without the hassle of starting from scratch. For more details on freezing, check out this resource on Freezing Pav Bhaji.

Photo by Aditya Mara
Solving these FAQs makes it easier than ever to prepare, save, and relive the magic of pav bhaji, no matter the occasion.
Conclusion
Pav bhaji is more than just a meal—it’s a celebration of bold flavors and comforting simplicity. With the right mix of spices, fresh vegetables, and buttery pav, you can bring the magic of Mumbai street food straight into your home.
Try this recipe for yourself and enjoy the satisfaction of recreating an iconic dish with ease. Whether it’s a family dinner, a gathering with friends, or a cozy night in, pav bhaji always hits the spot.
We’d love to hear how your pav bhaji turns out! Share your experience, unique twists, or favorite variations in the comments below. Let’s keep the love for this timeless dish alive!